The Aircond Chemical Wash Process, Explained
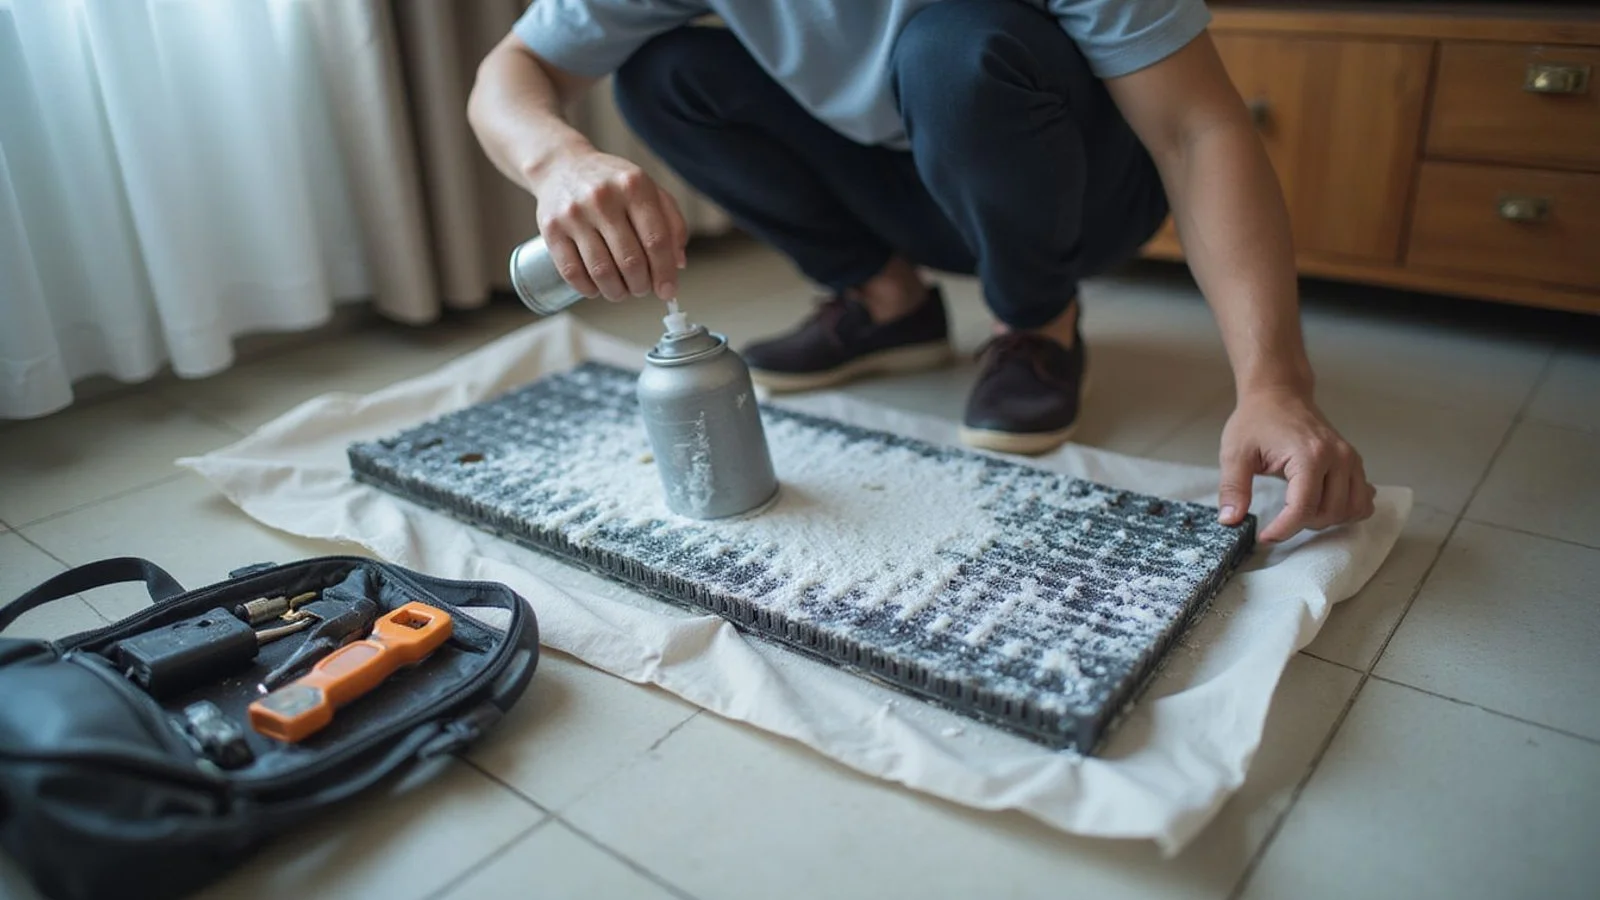
Step-by-step: protect floors, dismantle panel + blower, apply chemical, rinse, flush drainage, reassemble. 60–90 min per unit.
From what I’ve seen in the field recently, the biggest complaint from homeowners isn’t just about rooms not cooling down. It is the shock of higher electricity bills following the 2026 TNB tariff updates.
A dirty air conditioner forces the compressor to run much longer to reach your target temperature.
We know that a proper aircond chemical wash process is the fastest way to reverse that performance drop. It takes exactly 60 to 90 minutes to fully deep-clean a typical residential split unit. Let’s look at the exact chemical wash steps, the solutions involved, and how ML Solution keeps the work neat enough that you would struggle to tell we were in the room.
Timeline Overview
If you are wondering how long chemical wash aircond services take, the entire process requires exactly 60 to 90 minutes for a typical 1.5HP wall-mounted split unit. You can expect the technician to spend the bulk of this time dismounting the blower and applying the alkaline solution.
Here is what to expect: aircond deep clean appointments follow a strict schedule.
- 0 to 5 min: Arrival, walk-through, setup
- 5 to 15 min: Floor and wall protection, power isolation, front panel removal
- 15 to 30 min: Blower wheel dismount, separate wash
- 30 to 45 min: Alkaline solution application, dwell time
- 45 to 55 min: High-pressure rinse, drainage flush
- 55 to 75 min: Reassembly, leak check
- 75 to 90 min: Cooling test, post-clean wipe-down, walk-through
We find that heavier units above 2.5HP generally lean toward the full 90-minute mark. Multi-unit visits in the same house can share setup time. Placing canvas protection across two adjacent bedrooms brings the average per-unit time down slightly.
Step-by-Step Process
Step 1: Floor and Wall Protection (5 mins)
Protecting your property takes about five minutes before any cleaning begins. We lay a heavy canvas sheet down on the floor directly under the unit. A protective waterproof sheet then goes up the wall behind the casing. Skipping this step is a common mistake cheap operators make, and Google reviewers consistently mention this careful setup when rating ML Solution. It prevents dirty water from ruining expensive hardwood floors or custom wallpapers.
Step 2: Power Isolation (1 min)
The technician must switch off the aircond circuit breaker before opening the casing. This critical one-minute step prevents accidental short circuits. We never risk dripping water onto live electronics or circuit boards. Safety remains our top priority when handling water near high-voltage connections.
Step 3: Front Panel and Filter Removal (4 mins)
Removing the front grille and filters takes roughly four minutes. Most residential splits release easily with two side clips. We slide the filters out and transport them to a separate wash tub. Clogged filters alone can increase your electricity consumption by 10 to 15 percent, making this basic step incredibly important for lowering your TNB bill.
Step 4: Blower Wheel Dismount (10 mins)
Dismounting the blower wheel is the crucial step that separates a basic RM85 routine servicing from a true chemical wash. The blower wheel is the spinning cylinder located behind the filter. We remove this component from the indoor unit and place it in a separate wash bucket. You simply cannot reach the back of the evaporator coil or properly scrub the blower blades without taking it out. This “squirrel cage” is exactly where dangerous bio-slime and mold accumulate in Selangor’s humid 33°C average climate.
Step 5: Alkaline Solution Application (5 mins)
Applying the chemical cleaner takes five minutes. We use an industrial-grade, non-corrosive alkaline coil cleaner, such as Culmi 138 or a similar trusted Malaysian brand. The technician dilutes it to a safe working strength.
The technician then sprays the solution directly across these specific areas:
- Front face of the evaporator coil
- Back face of the coil
- Internal water tray
- Drainage line opening
Step 6: Dwell Time (10 mins)
The alkaline solution requires a 10-minute dwell time to work effectively. It needs this window to dissolve the organic matrix holding mold, dust, and bio-slime onto the metal coil. We consider this waiting period the defining factor of a deep clean. A quick spray and immediate rinse will leave microscopic bacteria behind. Giving the chemical time to react ensures a truly sanitized system.
Step 7: High-Pressure Rinse (8 mins)
Rinsing the internal components takes about eight minutes. We use clean water under controlled pressure to blast away the alkaline solution and the dissolved fouling. The high-pressure jet cleans the coils, aluminum fins, blower wheel, and water tray. This action produces a muddy, grey-brown water runoff that collects in the canvas catch-bag at the bottom. That dark sludge is exactly what was circulating inside your aircond.
Step 8: Drainage Line Flush (5 mins)
Flushing the drainage line takes another five minutes. We use a nitrogen pump or a specialized wet-vac at the external drain outlet to push blockages through the pipe. The technician flushes the system until the water exits completely clear. Clearing this line prevents the common jelly sludge buildup that causes indoor units to leak water down your walls.
Step 9: Reassembly (15 mins)
Putting the unit back together requires 15 minutes of careful work. The clean blower wheel goes back into the main housing. We reattach the front panel and slide the freshly washed filters back into place. The technician firmly re-seats and verifies every plastic clip is tight to prevent rattling noises.
Step 10: Power On and Cooling Test (10 mins)
Testing the system takes 10 minutes once we restore the power. We switch the breaker back on and let the unit run through a full cooling cycle.
The technician uses a strict checklist to verify several critical metrics:
- Cool air output temperature drop
- Absolute absence of water leaks around the drainage area
- Smooth motor operation with no new noises
- A noticeably clean, fresh smell during operation
Step 11: Post-Clean Wipe-Down (5 mins)
Cleaning up our workspace takes the final five minutes in the room. We wipe down the adjacent walls and carefully remove the canvas catchment system. The technician immediately mops the floor if any random spatter occurred during the high-pressure rinse. You will find absolutely no visible debris left behind from our work.
Step 12: Walk-Through (3 mins)
The final three minutes consist of a quick client walk-through. We point out exactly what we found during the wash. The technician might mention that a heavily fouled blower was straining your motor, and you should notice cooler air within an hour. We also note the recommended return date for your next service and answer any lingering questions.
What You Need to Prepare
To help our team hit that 60 to 90-minute target per unit, a little preparation goes a long way. You do not need to provide any tools, as we bring our own equipment, rinsing water, and chemicals.
Please prepare the following before your appointment:
- Clear access to each indoor unit: Move chairs, lamps, or heavy boxes away from the wall directly under the aircond.
- Secure pets and young children: Keep them out of the room during the work, as the alkaline solution is slippery and best avoided.
- Ensure brief power-off availability: The technician will switch off the unit’s breaker. You should avoid running heavy appliances on the exact same circuit during this time.
- Allocate five minutes of your schedule: We need you for a quick walk-through at the start and the final test cycle at the end.
Drying and First Use
You must run your air conditioner on Dry Mode for the first 15 minutes immediately after a chemical wash. Proper drying prevents new mold spores from taking hold on damp surfaces.
Follow this simple timeline for the first hour of use:
| Timeframe | Recommended Action | Reason |
|---|---|---|
| First 15 Minutes | Run the unit on Dry Mode | Helps evaporate residual moisture gently and clears any faint detergent smells. |
| 15 to 30 Minutes | Switch to normal cooling, avoid minimum temps | Prevents the compressor from overworking while internal parts dry completely. |
| After 30 Minutes | Resume full, normal use | The system is fully cleared and ready to operate at maximum efficiency. |
We constantly hear from customers who notice colder, cleaner-smelling air within the very first day. The true financial benefit shows up over the first week. Your TNB bill impact drops because the clean compressor no longer has to work overtime to push air through clogged fins.
When the Process Differs
Certain situations require us to adapt the standard 90-minute timeline. We adjust our approach based on the type of hardware and the severity of the dirt buildup.
Heavily Fouled Systems (8+ Years Unwashed) A second alkaline application is often required if a unit has gone years without a proper chemical wash. The first 10-minute dwell time might not fully clear deeply embedded mold from the fins. This double-wash process adds about 15 minutes to the total service time.
Ceiling Cassette Installations Setup takes significantly longer for ceiling cassette units mounted in high-ceiling properties. The technician needs ladder access and must perform more careful blower extraction work. You should allow 90 to 120 minutes per cassette unit. The average cost in Selangor for cassette units is also higher, usually starting around RM250, due to the added labor.
For unusually old or persistently smelly systems that do not respond to this standard aircond chemical wash process, see our chemical wash vs chemical overhaul comparison. Sometimes, removing the entire unit from the wall is genuinely necessary to fix the problem.
When you are ready to improve your air quality, schedule your chemical wash with our team. We will lock in a same-day or next-day window across Shah Alam, Kota Kemuning, and Setia Alam. For long-term maintenance advice after this initial cleaning, check out our guide on how often to chemical wash your residential units.
Frequently Asked Questions
Do I need to be home during the chemical wash?
Yes for the first 5 minutes — gate access, brief walk-through to identify the units, agreeing where to set up. After that you can carry on with your day. We let you know when we're 10 minutes from finishing so you can come back for the test cycle and walk-through.
Will chemical wash leave a chemical smell?
A faint detergent-like smell during the work itself, gone within 30 minutes of reassembly. Running the unit on dry mode for 15 minutes after we leave clears any residual smell entirely. The unit smells noticeably cleaner overall — most customers comment on the first-day improvement.
Can chemical wash be done in any season?
Year-round in Malaysia. Many buyers book a few weeks before haze season (typically July–October) to make sure indoor air quality is optimised when outdoor air gets bad. Avoid the peak-heat weeks if you can — scheduling is tight then and you may wait longer.
Need an aircond specialist in Shah Alam?
Same-day response for Seksyen 18 and surrounding areas. Send a quick WhatsApp message with your unit's HP and a photo for a fair, upfront quote.