Why Is Your Aircond Leaking Water Indoors?
Blocked drain line, dirty filter freezing coil, cracked pan, broken pump, low refrigerant — what to do about indoor water leaks.
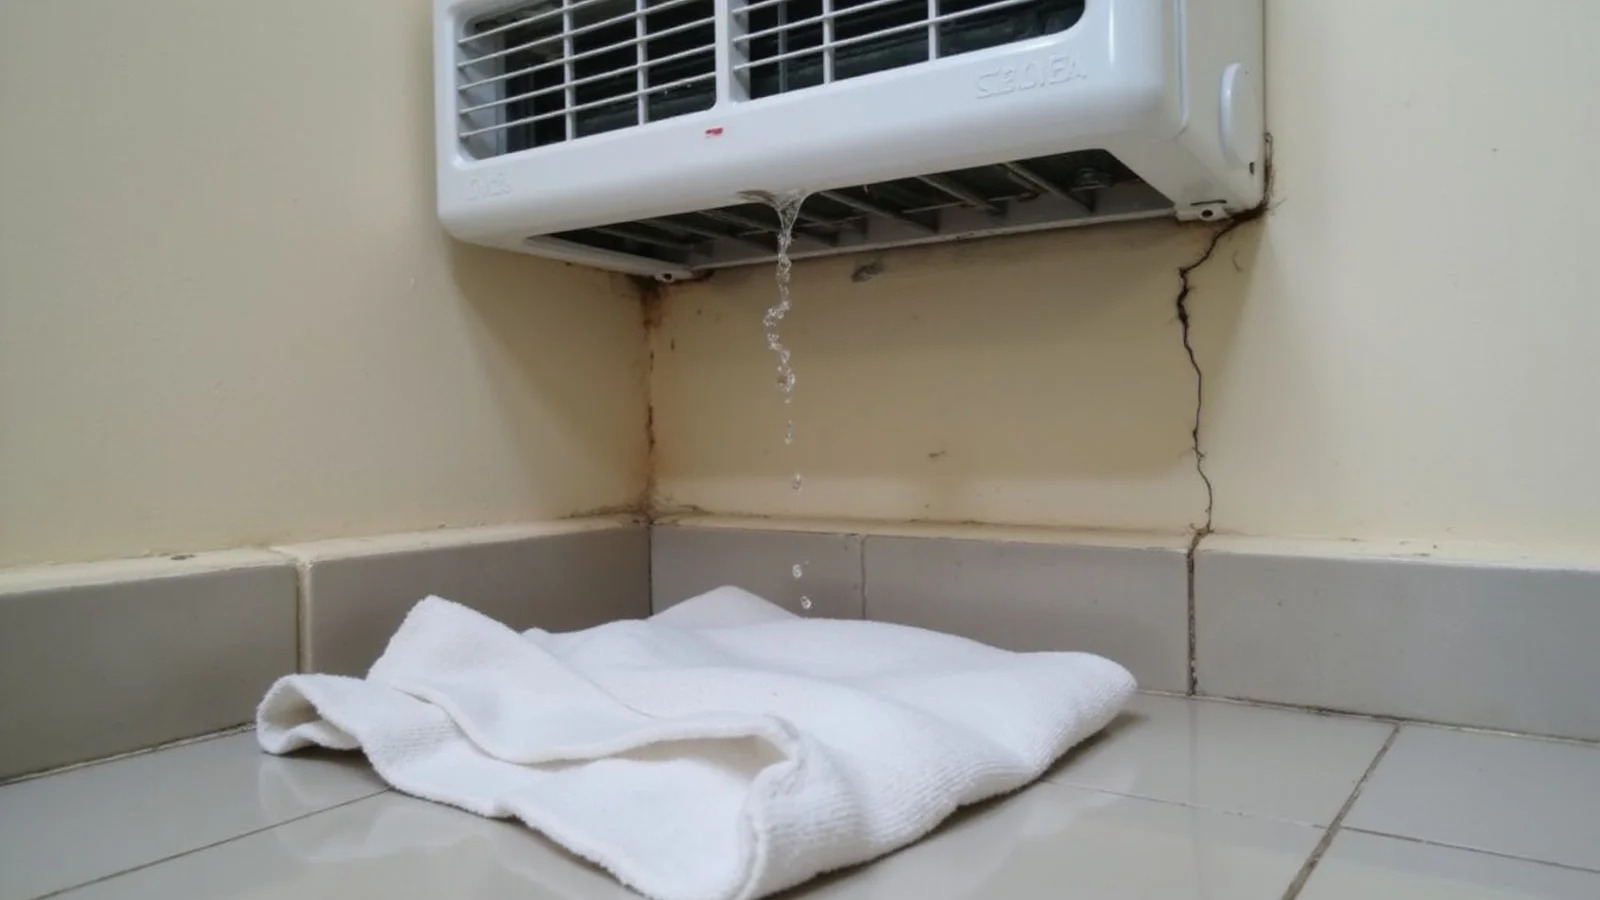
We see homeowners panic immediately when they spot their aircond leaking water. The urgency is completely justified because your plaster ceilings and wooden floors are at serious risk.
Our daily service calls across Selangor prove that a puddle usually means a simple blockage.
Catching this early makes a huge difference. You can often prevent a minor drip from becoming an expensive ceiling repair.
So, let’s break down the five most common causes and explore exactly how to stop them. We will look at practical DIY fixes and outline exactly when you need professional help.
1. Blocked Drainage Line (Most Common)
A blocked PVC drain pipe is the absolute most frequent reason you experience an indoor aircond water drip. Condensation forms as the air conditioner cools your room, but a clogged pipe leaves that water with nowhere to go except onto your floor.
The Problem with Aircon Jelly
We find that Malaysia’s tropical humidity creates the perfect breeding ground for bio-slime inside your drainage system. This thick, sticky residue is commonly known as “aircon jelly” among local technicians. Dust filters past the indoor unit and mixes with this bacterial growth. The buildup eventually plugs the entire line.
How to Fix a Blockage
Our technicians typically clear these stubborn blockages using a high-pressure nitrogen pump. This drainage flush takes about 15 to 30 minutes to complete. It is a standard procedure included during any proper chemical wash service. A professional chemical wash usually costs between RM120 and RM180 for a standard wall-mounted unit.
Safe DIY Options
You can sometimes clear a minor clog yourself. Check if you can reach the external PVC drain pipe outside your house. Sealing a wet/dry vacuum hose against the outlet and running it for 30 seconds often suctions the blockage clear. Do not push a wire in from the indoor side. Puncturing the plastic pipe will turn a simple flush into a costly pipe replacement.
2. Dirty Filter Freezing the Evaporator Coil
A heavily clogged filter blocks warm air from reaching the evaporator coil, causing the condensation to freeze into solid ice. When the unit turns off, this ice melts rapidly and overflows the drain pan, resulting in a severe leak.
Identifying a Frozen Coil
We often hear customers complain about weak cooling for a few days before the dripping actually starts. You might even see visible ice forming on the copper pipes if you peek behind the front cover. The leak usually begins intermittently and then becomes a constant stream as the ice thaws.
Why This Hurts Your Wallet
Running an air conditioner with a choked filter does more than just cause water damage. A dirty unit works much harder, consuming up to 25% more energy to cool a standard Shah Alam bedroom. With the recent TNB tariff updates pushing effective rates to around 44.43 sen per kWh for many households, this wasted electricity gets expensive quickly.
The Correct Way to Clean Filters
Our advice is to switch off the breaker for an hour to let any internal ice fully melt. You should then remove the mesh filter and wash it thoroughly with plain water. Let the filter dry completely before reinstalling it. If the cooling does not improve after a wash, the internal coil is likely fouled and requires professional attention.
3. Cracked or Misaligned Drain Pan
The drain pan sits directly under the evaporator coil to catch dripping condensation, but a cracked or shifted pan will spill water straight into your room. This often happens if the plastic becomes brittle from age or gets misaligned during a rushed servicing job.
Spotting Drain Pan Issues
We usually suspect a broken drain pan when a unit continues to leak immediately after a thorough drainage flush. You will often notice visible white mineral staining or warping on the plastic tray when the indoor cover is removed. This indicates water has been pooling in the wrong areas for quite some time.
Replacement Costs and Process
Our technicians must completely dismantle the indoor unit to replace a damaged pan. This delicate process generally takes about 60 to 90 minutes to ensure proper alignment.
Here is a realistic breakdown of what to expect for replacement costs:
| Component | Estimated Cost (RM) |
|---|---|
| Genuine Resin Drain Pan (Daikin/Panasonic) | RM80 to RM150 |
| Professional Labour & Realignment | RM100 to RM150 |
Replacing the broken part promptly prevents structural water damage to your walls.
4. Failed Condensate Pump (Only Some Units)
Air conditioners installed below their external drainage point rely on a motorized condensate pump to push water uphill. When this small motor burns out or clogs, water simply collects in the internal reservoir until it spills over the edges.
Where These Pumps Are Used
We rarely see condensate pumps in standard wall-mounted bedroom units. They are much more common in ceiling cassette systems, basement installations, or offices around Selangor where gravity drainage is impossible. You can often diagnose a failing pump by listening closely for a continuous, unsuccessful clicking or buzzing noise.
Pump Replacement Costs
Our team highly recommends replacing a burnt-out motor rather than attempting to repair it. A reliable replacement pump from trusted brands like Dewpoint or Value typically costs between RM150 and RM300. You will also need to factor in the labour required to safely access the ceiling cavity and wire the new pump.
5. Low Refrigerant From a Leak
Low refrigerant pressure drops the temperature of the evaporator coil below freezing, triggering a massive freeze-thaw cycle that overwhelms the drain pan. This is exactly the same mechanism as a dirty filter, but it is caused by a chemical gas leak rather than an airflow blockage.
Symptoms of a Gas Leak
We always tell customers that refrigerant gas does not just evaporate naturally over time. If your system is low on gas, there is a physical hole somewhere in the copper piping. You will typically experience weak cooling, hear faint hissing sounds, and see ice forming on the outdoor compressor pipes.
The Repair Process
Our standard procedure involves tracking down the exact location of the leak using an electronic leak detector or a specialized spray test. Sealing the copper joint is mandatory before refilling the system. Topping up gas without fixing the underlying hole is a complete waste of your money.
The total cost depends heavily on the type of gas your specific unit requires:
| Refrigerant Type | Common Usage | Estimated Refill Cost (RM) |
|---|---|---|
| R32 Gas | Modern energy-efficient units | RM130 to RM280 |
| R22 Gas | Older legacy aircond models | RM80 to RM160 |
What’s Safe to Try Yourself
You can safely perform basic troubleshooting steps to stop the immediate damage and identify the root cause. Always prioritize electrical safety before touching any part of the machine.
Before booking a technician, try these proven steps:
- Switch the unit off at the breaker. Water dripping onto live electronics is a serious fire hazard, so shut the power down immediately.
- Protect your flooring. Place a large towel or a shallow plastic tray directly under the leak point.
- Inspect and wash the filter. Rinse a matted filter under the tap, let it dry, and run the unit for 30 minutes. If the leak stops, you have solved the airflow issue.
- Wet-vac the external drain. Applying 30 seconds of suction to the outside PVC pipe often clears out minor aircon jelly blockages.
- Check for internal ice. Leave the unit off for 1 to 2 hours to let any visible ice on the indoor coil fully thaw before restarting.
What’s NOT Safe to Try Yourself
Certain repairs require professional tools and specific training to execute safely. Attempting complex fixes yourself can permanently damage your system or void your warranty.
We strongly advise against the following actions:
- Poking wire into the drain line. Pushing a sharp tool from inside the unit easily punctures the plastic pipe. This instantly turns a RM120 flush into a RM400+ wall hacking and pipe replacement job.
- Dismantling the indoor casing. Removing covers beyond the basic filter access exposes delicate refrigerant pipework and live capacitors.
- Using DIY refrigerant cans. You cannot safely refill gas without a proper manifold gauge, and you still need to find and seal the actual leak first.
- Ignoring the drip. Running the machine while water pools inside will eventually short out the expensive main circuit board.
When to Call Same-Day
Some leaks pose an immediate threat to your property and require urgent professional intervention. Delaying service in these scenarios usually leads to severe secondary damage.
Call for same-day assistance if you notice any of these critical warning signs:
- Water continues to drip heavily even after you have cleaned the filter.
- The leak is directly hitting electrical sockets, televisions, or exposed wiring.
- The drip rate is aggressive, producing multiple drops per second.
- You notice spreading water stains or warping on your plaster ceiling and wall paint.
- Thick ice on the indoor coil refuses to melt after two hours of being switched off.
Our ML Solution team responds on the same day for Shah Alam, Seksyen 18, and adjacent neighborhoods. Outer Klang Valley areas like Subang Jaya, Petaling Jaya, and Klang are typically scheduled for the next day. Review our complete guide to common aircond problems to see if your specific symptom matches this leak pattern.
What a Diagnostic Visit Costs
Understanding the standard pricing for an aircond leaking water repair helps you make informed decisions when the technician arrives. A standard repair diagnostic visit for water leaking in the Selangor area is RM80.
We waive this diagnostic fee if you proceed with the on-the-spot repair. Here are the realistic rates you can expect for professional fixes in 2026:
- Drainage flush only: RM120 to RM160 for the basic chemical flush labour.
- Filter deep clean and drainage flush: RM150 to RM180.
- Drain pan replacement: RM250 to RM400 for genuine parts and full dismantling labour.
- Leak detection and R32 gas refill: RM450 to RM700 depending entirely on the location of the copper pipe leak.
You can speed up the process significantly before we even arrive to fix your aircond leaking water. Send a quick WhatsApp to +60 17-256 3432 with a photo of the leak and a brief description. Our experienced technicians can narrow down the cause from your photos half the time, getting your home cool and dry much faster.
Frequently Asked Questions
How urgent is a leaking aircond — can I wait a few days?
Switch off the unit and book within 24 hours. The fix itself is usually quick (most leaks are a blocked drain line, which is a 30-minute job), but water continuing to drip onto your floor or window frame accelerates ceiling rot, wall paint damage, and timber-frame warping. Cheap to fix today, expensive to fix in a fortnight.
Will chemical wash stop my aircond from leaking?
Often yes — the drainage flush included in a proper chemical wash clears blocked drain lines, which is the most common cause of indoor water leaks. If the leak is from a cracked drain pan or low refrigerant freezing the coil, those need different fixes (drain pan replacement or leak detection).
Can I unblock my aircond drain line myself?
Avoid pushing a wire into the line from the indoor side — it punctures the drain pipe. The safer DIY approach is a wet/dry vacuum sealed against the external drain outlet (usually a small pipe sticking out of an exterior wall), running for 30 seconds to suction the blockage. If that doesn't clear it, call a technician.
Need an aircond specialist in Shah Alam?
Same-day response for Seksyen 18 and surrounding areas. Send a quick WhatsApp message with your unit's HP and a photo for a fair, upfront quote.